Home/Tutorials
Digital and Analog Clocks
Hello again! I know that my previous tutorial may have been a bit too hard to comprehend. At least that's what I heard from some of my students. So, to keep things easy, I decided to use a predefined library of functions which is based on the C language from now on. This will make the code simpler, allowing us to concentrate on the stuff that actually gets things running, rather than having to worry about internal APIs, structs, events, and so on.
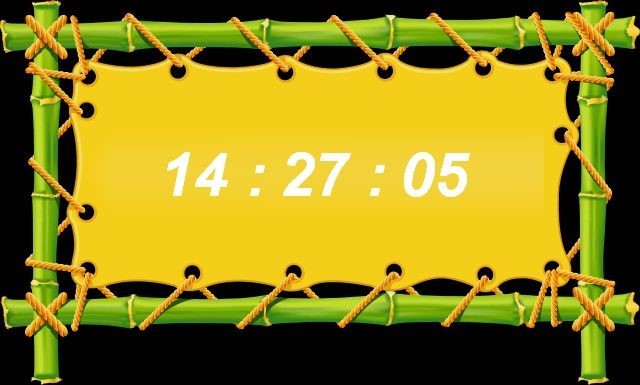
This tutorial will help you build two different clocks. The first one we're going to create is a digital clock.
Take a good look at the code below; it is all that's required to make it run. We'd need to include
#include
function main()
{
video_border(bmap_create("digital.png"), 0, 0, 640, 385);
PANEL* clock = pan_create(NULL, 0);
clock.bmap = bmap_create("digital.png#10#10#640#385");
FONT* clockfont = font_create("Arial#70bi");
pan_setdigits(clock, 0, 160, 140, "%02.f :", clockfont, 1, sys_hours);
pan_setdigits(clock, 0, 280, 140, "%02.f :", clockfont, 1, sys_minutes);
pan_setdigits(clock, 0, 400, 140, "%02.f", clockfont, 1, sys_seconds);
set(clock, SHOW);
}
Function main() begins by creating a video border around our clock panel. Then, we create the actual panel and assign it the digital.png bitmap – the background image.
We will use a bold, italicized Arial font with a size of 70 for our digits. We display the "hours", "minutes" and "seconds" digits, and then we "SHOW" the clock panel. That's it!
The code for our analog clock is a bit more complex. There you go:
#include
#include
var hours;
function main()
{
vec_set(screen_size,vector(400, 400, 0));
vec_set(screen_color, vector(20, 0, 0));
video_alpha = 70;
wait (1);
video_window(vector(50, 50, 0), vector(200, 200, 0), 2, 0);
PANEL* clock = pan_create(NULL, 0);
set (clock, SHOW);
BMAP* hours_hand = bmap_fill(bmap_createblack(140, 8, 32), vector(255, 220, 220), 100);
bmap_drawborder(hours_hand, vector(255, 220, 220), 60);
pan_setneedle(clock, 0, screen_size.x/2, screen_size.y/2, hours_hand, 10, 4, 90, 12, 0, hours);
BMAP* minutes_hand = bmap_fill(bmap_createblack(180, 6, 32), vector(255, 220, 220), 100);
bmap_drawborder(minutes_hand, vector(255, 220, 220), 60);
pan_setneedle(clock, 0, screen_size.x/2, screen_size.y/2, minutes_hand, 10, 3, 90, 60, 0, sys_minutes);
BMAP* seconds_hand = bmap_fill(bmap_createblack(190, 5, 32), vector(0, 0, 250), 100);
bmap_drawborder(seconds_hand, vector(0, 0, 250), 60);
pan_setneedle(clock, 0, screen_size.x / 2, screen_size.y / 2, seconds_hand, 20, 2, 90, 60, 0, sys_seconds);
while (1)
{
hours = sys_hours + sys_minutes / 60;
wait (1);
}
}
First of all, we include two of the predefined .c libraries, and then we create a variable named "hours".
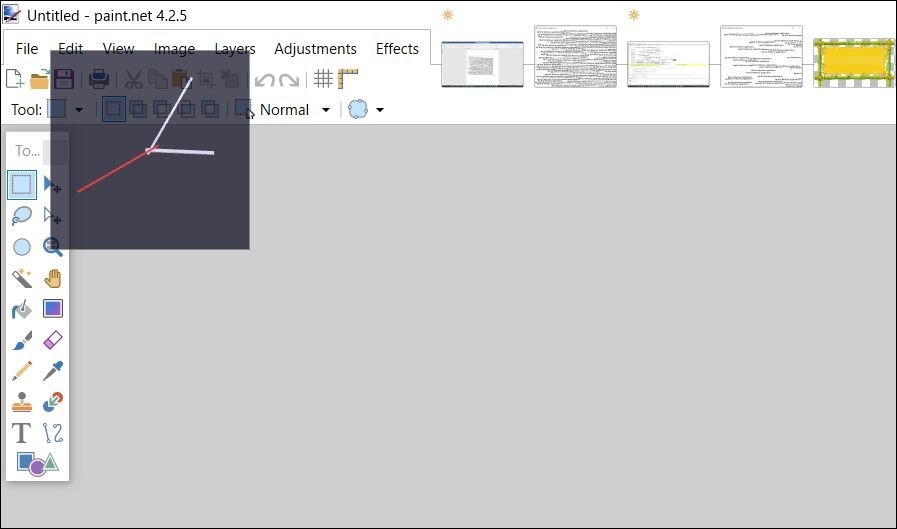
Function main() sets the size of our analog clock to 400x400 pixels, and then sets its color and transparency. As you can see from the picture above, our analog clock can be placed on top of another application without covering any useful information.
We wait for a frame, until the clock window is opened, and then we use video_window to display the clock in the upper left corner of the screen. It's time to create the clock panel and display it; we will use bmap_fill instructions to fill the panel with the desired colors (white for the hours and minutes' hands, red for the seconds' hand).
The hands will be placed in the center of the screen, and the while (1) loop that is placed at the end of function main() will ensure that the time is always kept up to date.
I hope that you've learned quite a few things from this tutorial. If everything works as planned, I'll show you more coding examples in the very near future, so be sure to visit the site again.